DIY- How to Revamp Your Business Cards
Redesigning Your current Business Cards | How to revamp your old or new business cards | by maritzagarcia.website
Hi! so happy you popped in today. Whether you stumbled upon my blog by chance or through one of my connecting social media links -welcome!
Today’s topic. "How to Revamp Your Existing Business Cards," if you follow via Instagram, you may have already seen a sneak peek of my new watercolor business cards. Thank you at Zazzle.com.

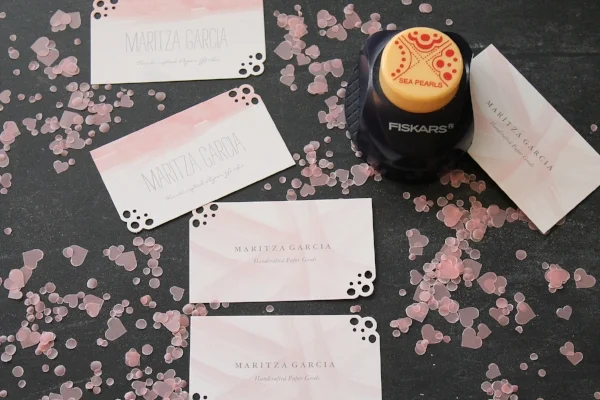
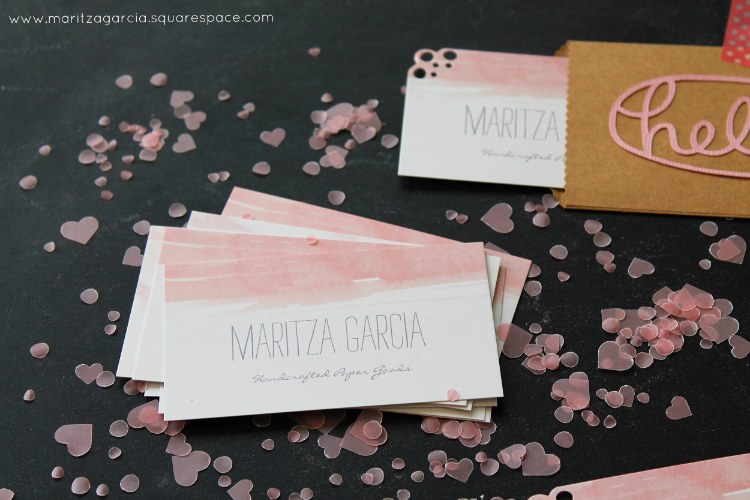
Okay. Let's get this DIY started. Here I took a standard rectangle (3.5" x 2.0") sized business card and simply added a rounded punched custom look to mine. I'll spill the details on how you can easily do this little trick on your own business cards in just a moment —promise. But first...
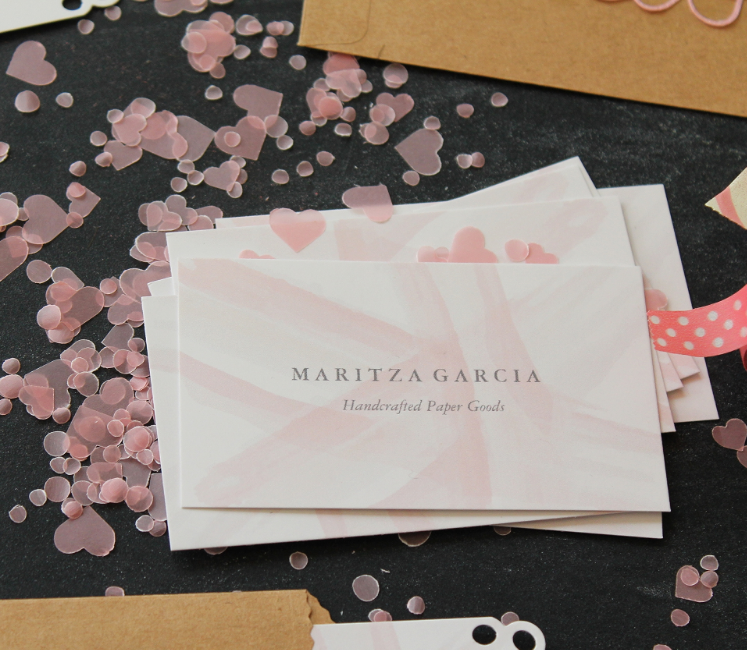
Please let me introduce you to two amazing Zazzle designers. Charming Ink and Fine and Dandy. On the upper right-hand corner, you have Charming Ink(s) Watercolor Pink Double-Sided Business Cards and on the lower left-hand corner you have Fine and Dandy(s) Watercolor Strokes Business Cards.
Thank you. Now. Here you have it. My super easy one tool technique, "The Corner Punch!" Thanks to this little helper of mine. The Fiskars 3-In-1 Sea Pearls corner puncher. I was able to give my business cards a mini makeover. Just insert your cards and punch away!

to purchase. Click on the link here -> Fiskars 3-In-1 Corner Punch-Sea Pearls.


Hopefully, I inspired you to want to revamp your own business cards today. If you haven't done this in awhile. Take a look at your current business cards and ask yourself. Could they use a little improvement? Or if you simply want people to give your business cards a double take. Now's the time to revamp!


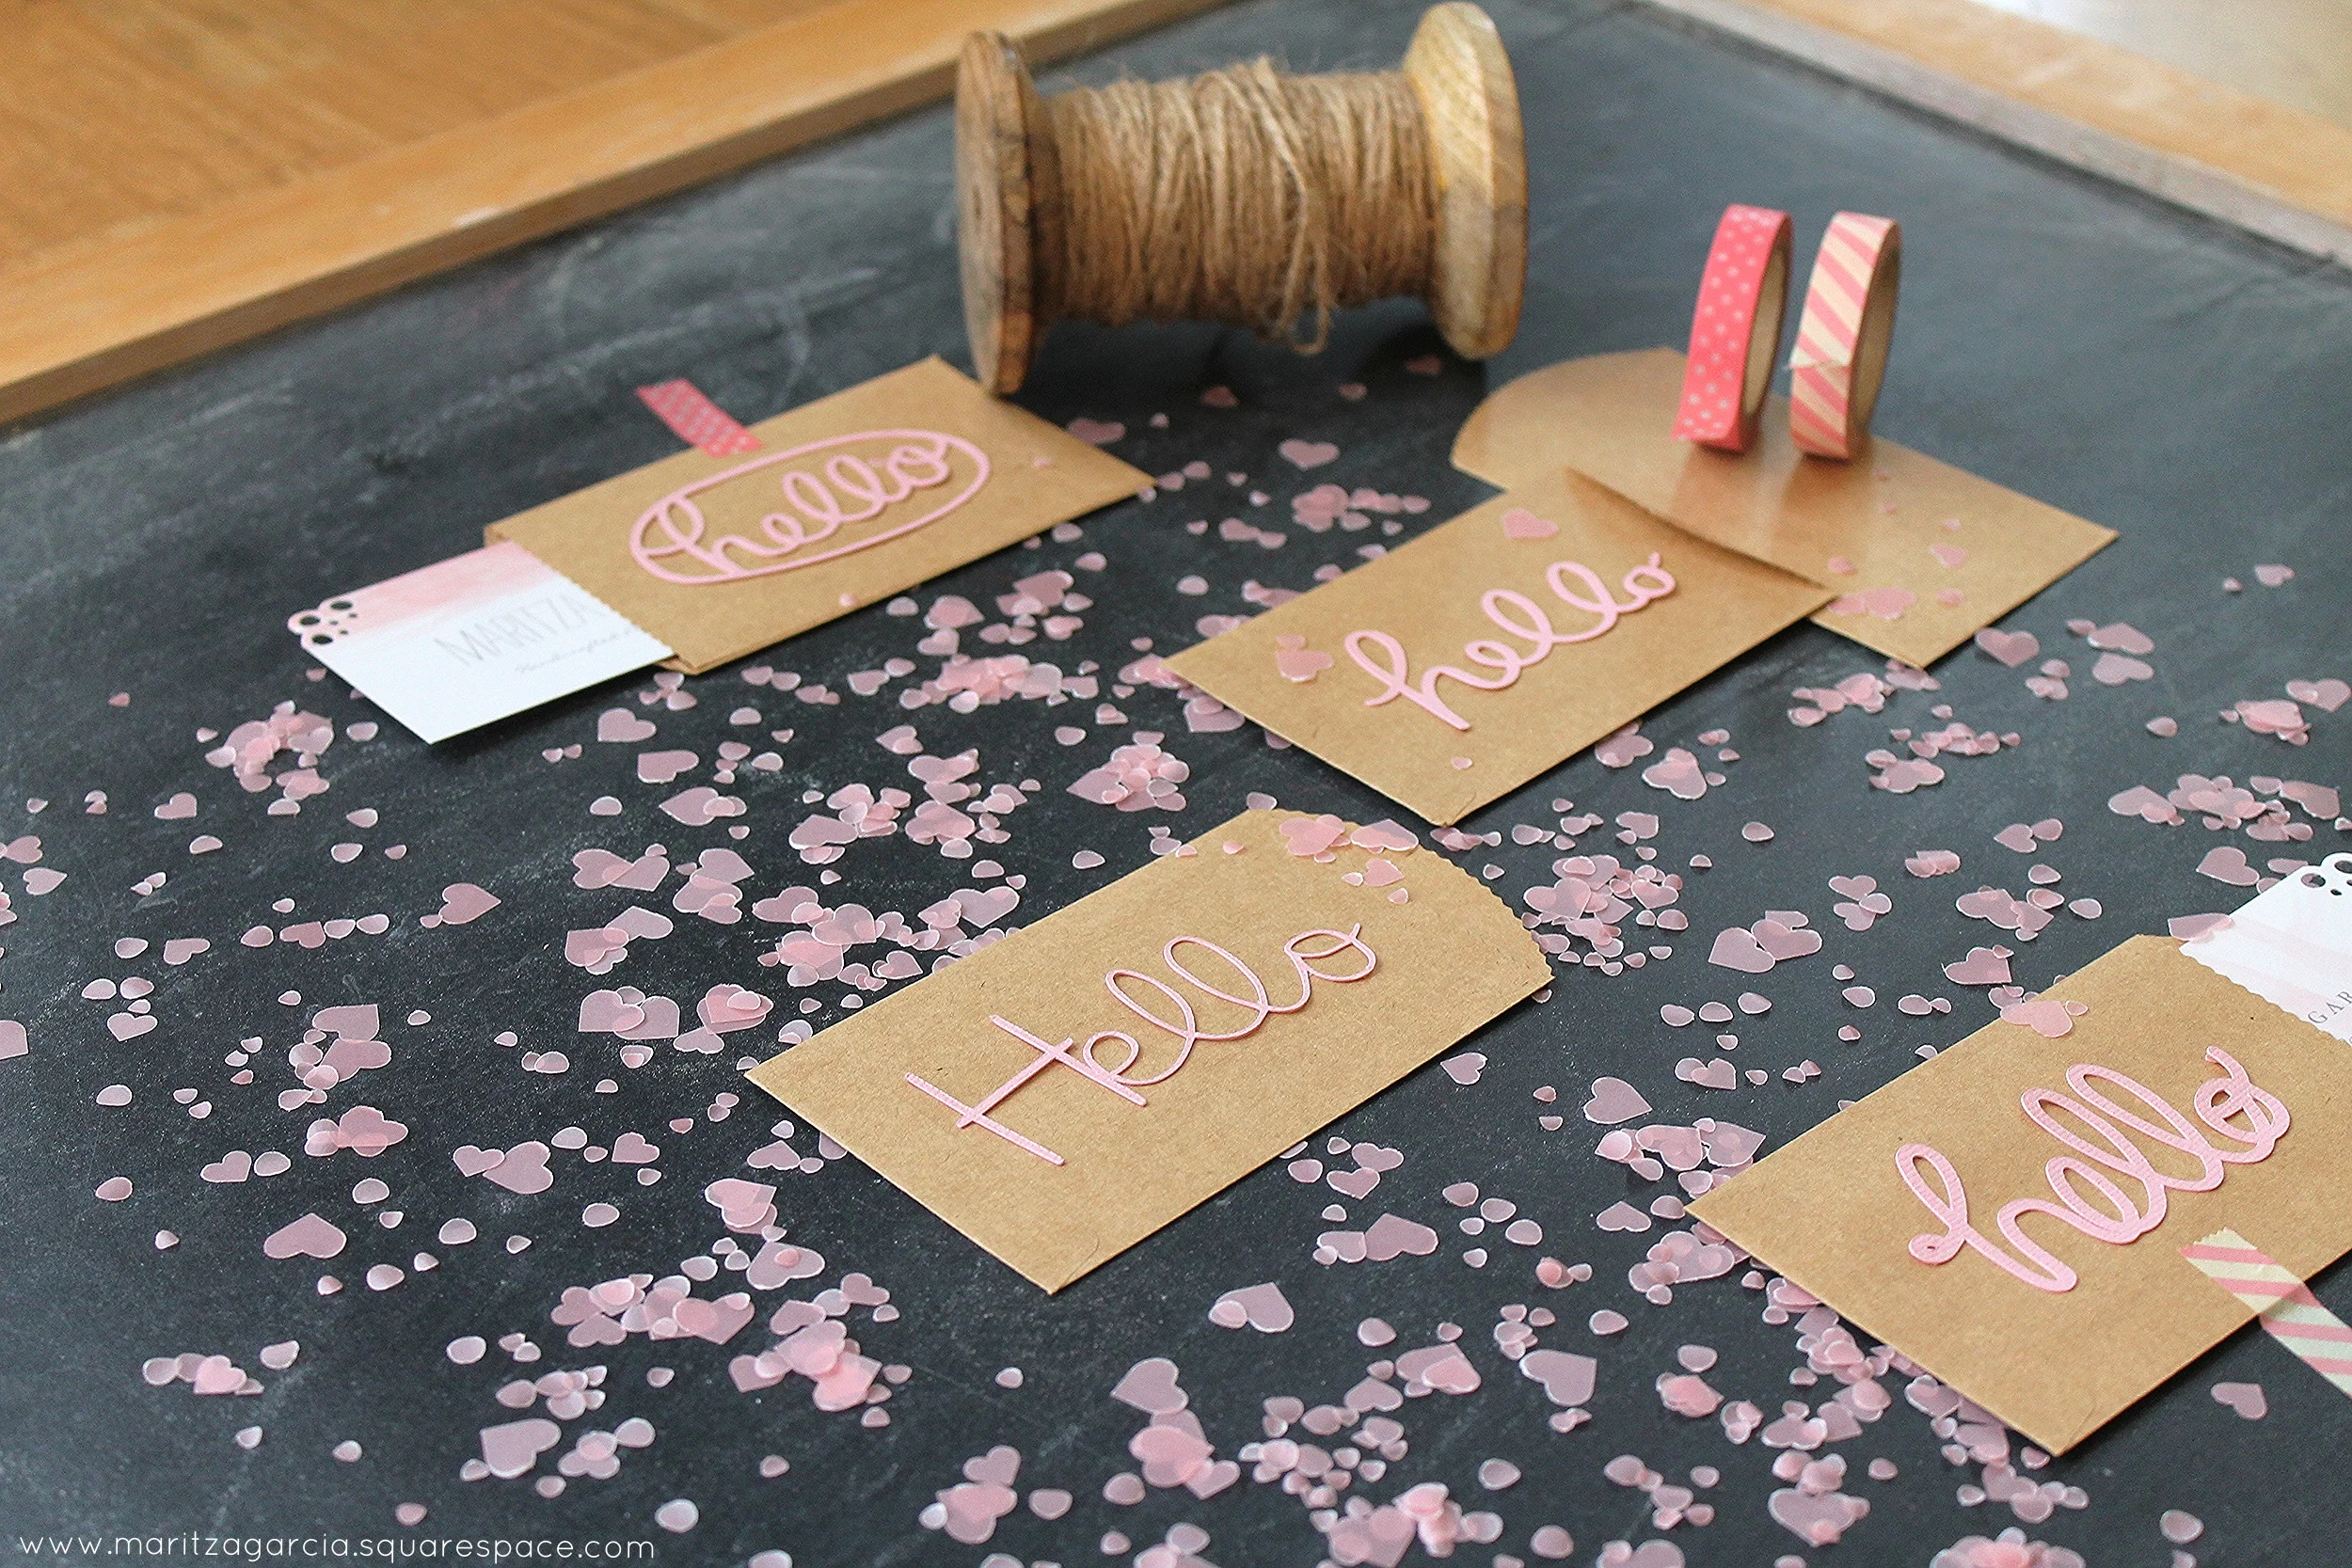
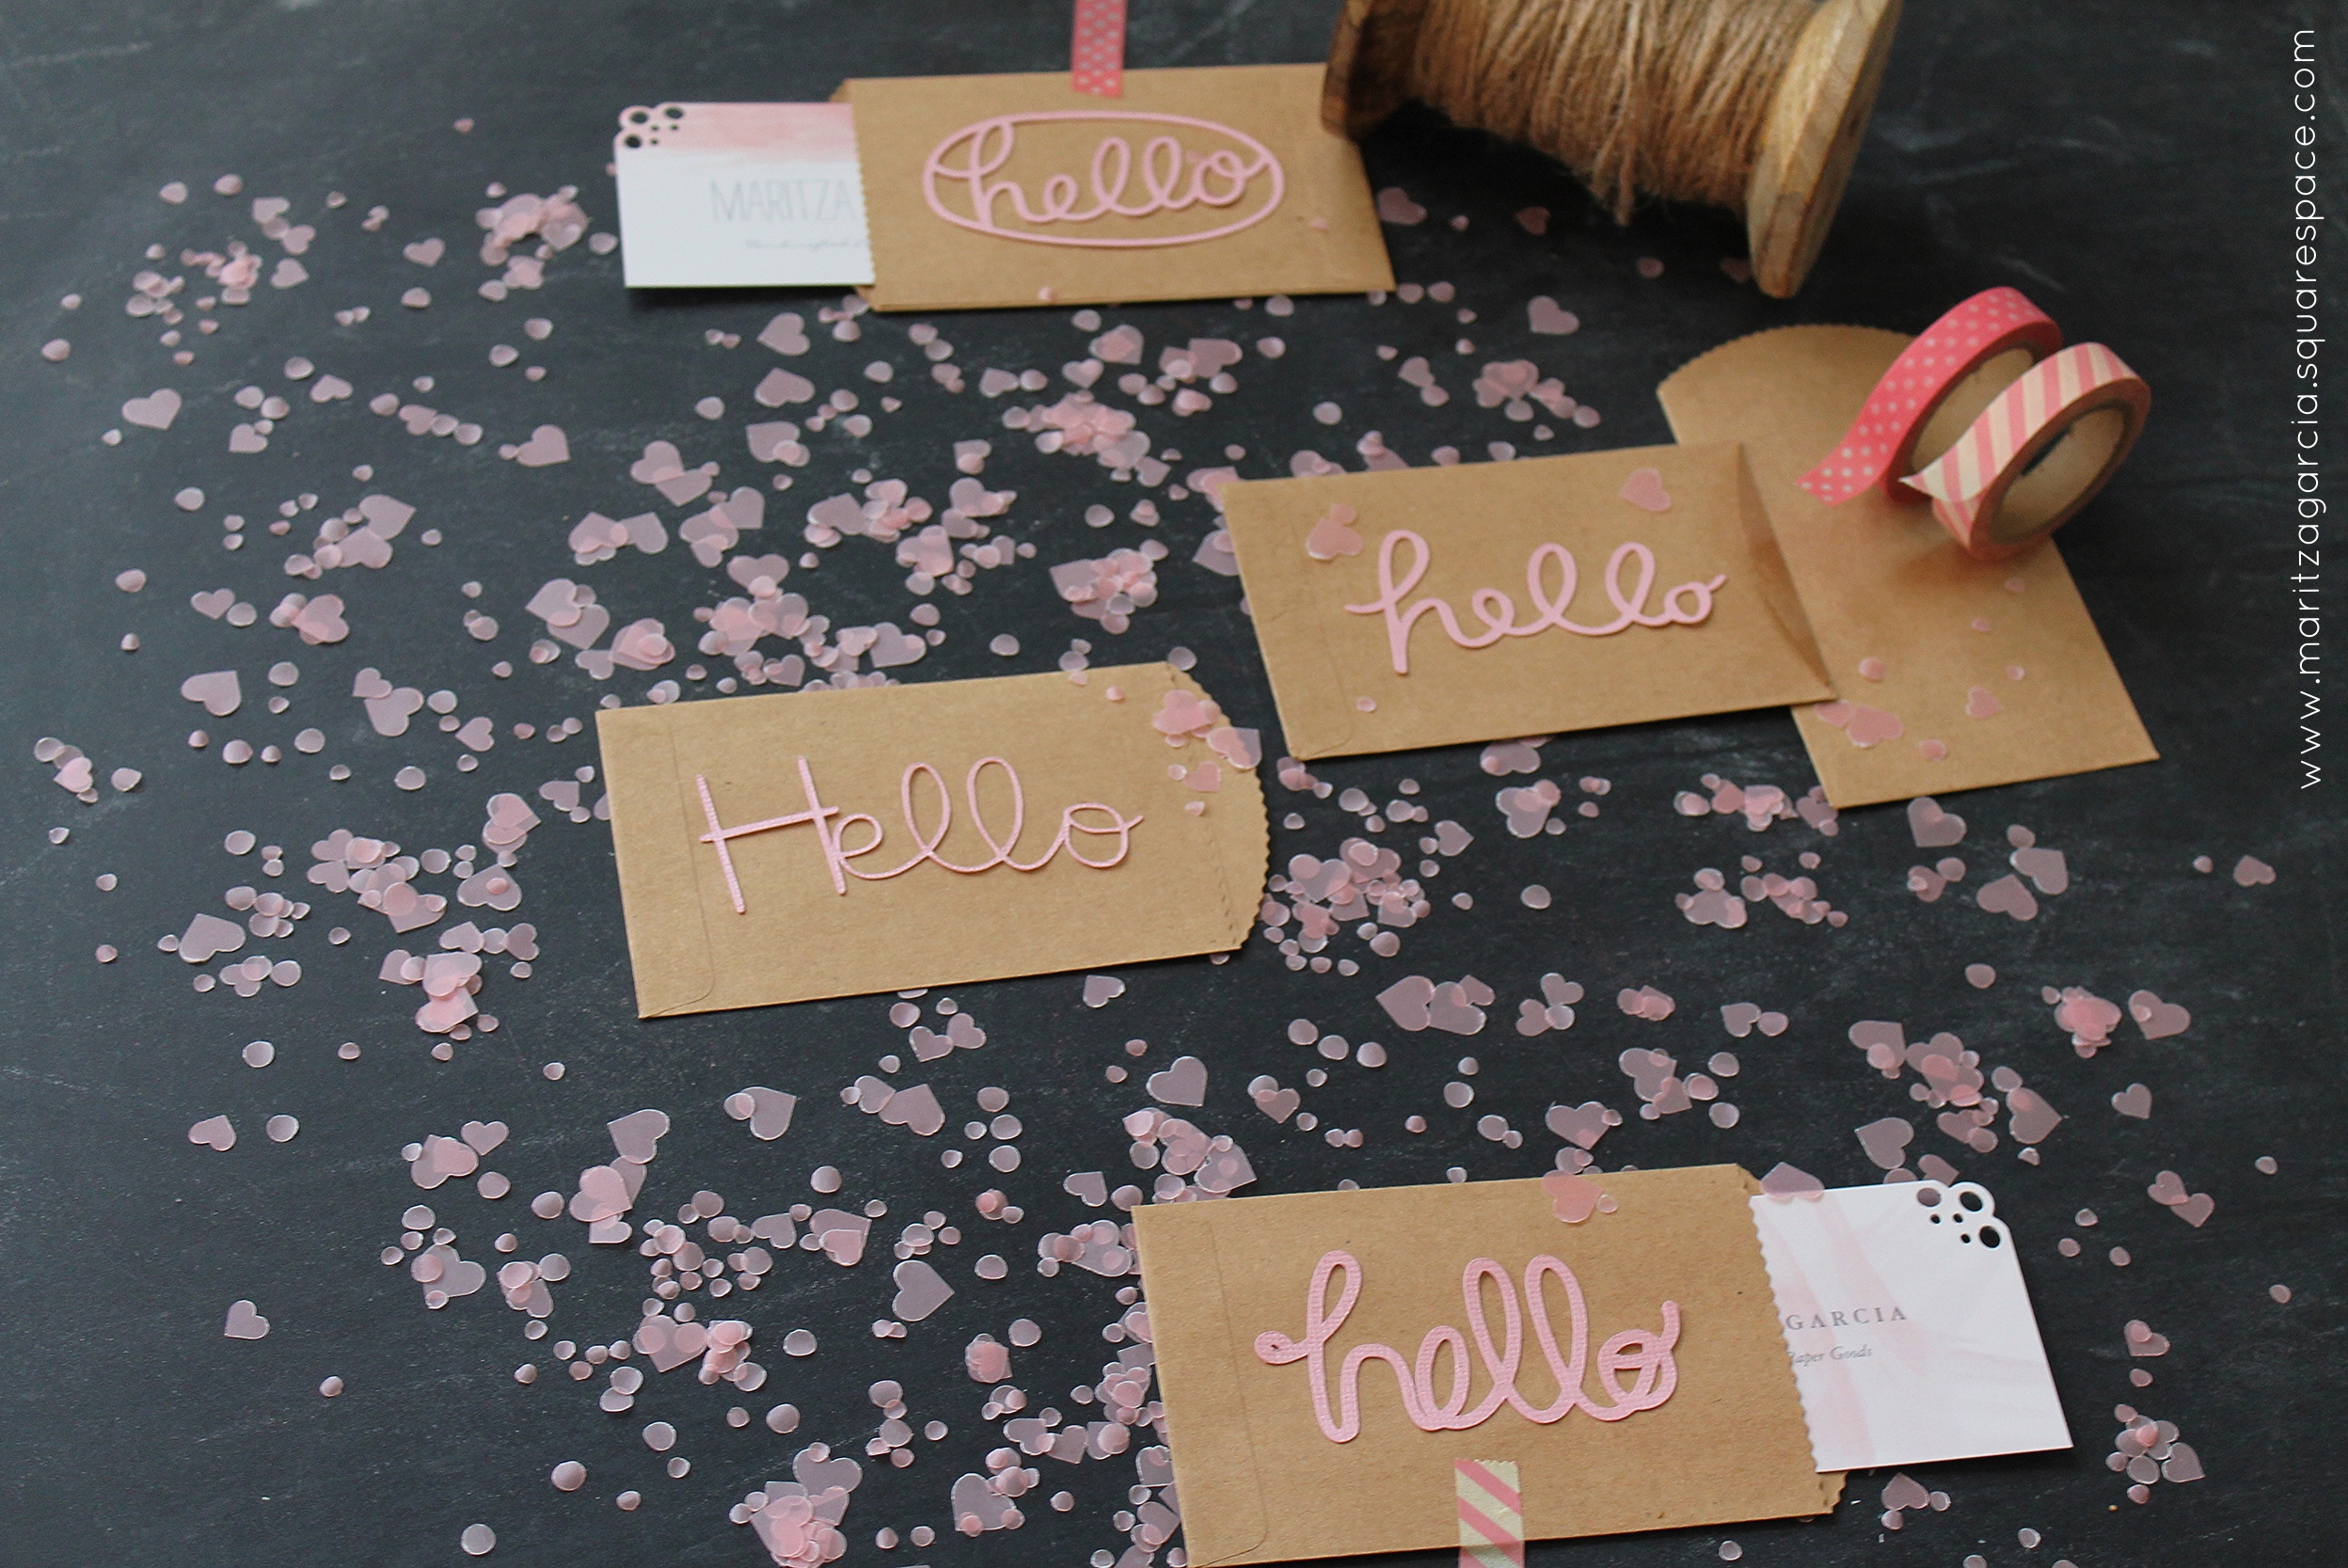
Thank you to all who asked about my DIY Kraft Paper Card Sleeves. I bought my Kraft Paper Envelopes at my local Michael's craft store. I also know Etsy has a variety of different styles of Business Card Envelopes. Check out GreenRidgeDesigns I like their nice selection.
How I got those adorable little Hello sentiments onto my envelopes was by using my Tombow Mono Liquid Glue

As for all those awesome fonts; all credit goes to Silhouette America and the Silhouette Design Store along with it's many wonderful hard-working designers.
In order from top to bottom here are the names and links of the four designers I went with for this DIY project;
1. hand drawn hello circle + reverse word by Kristen Magee
2. hello by Carta Bella
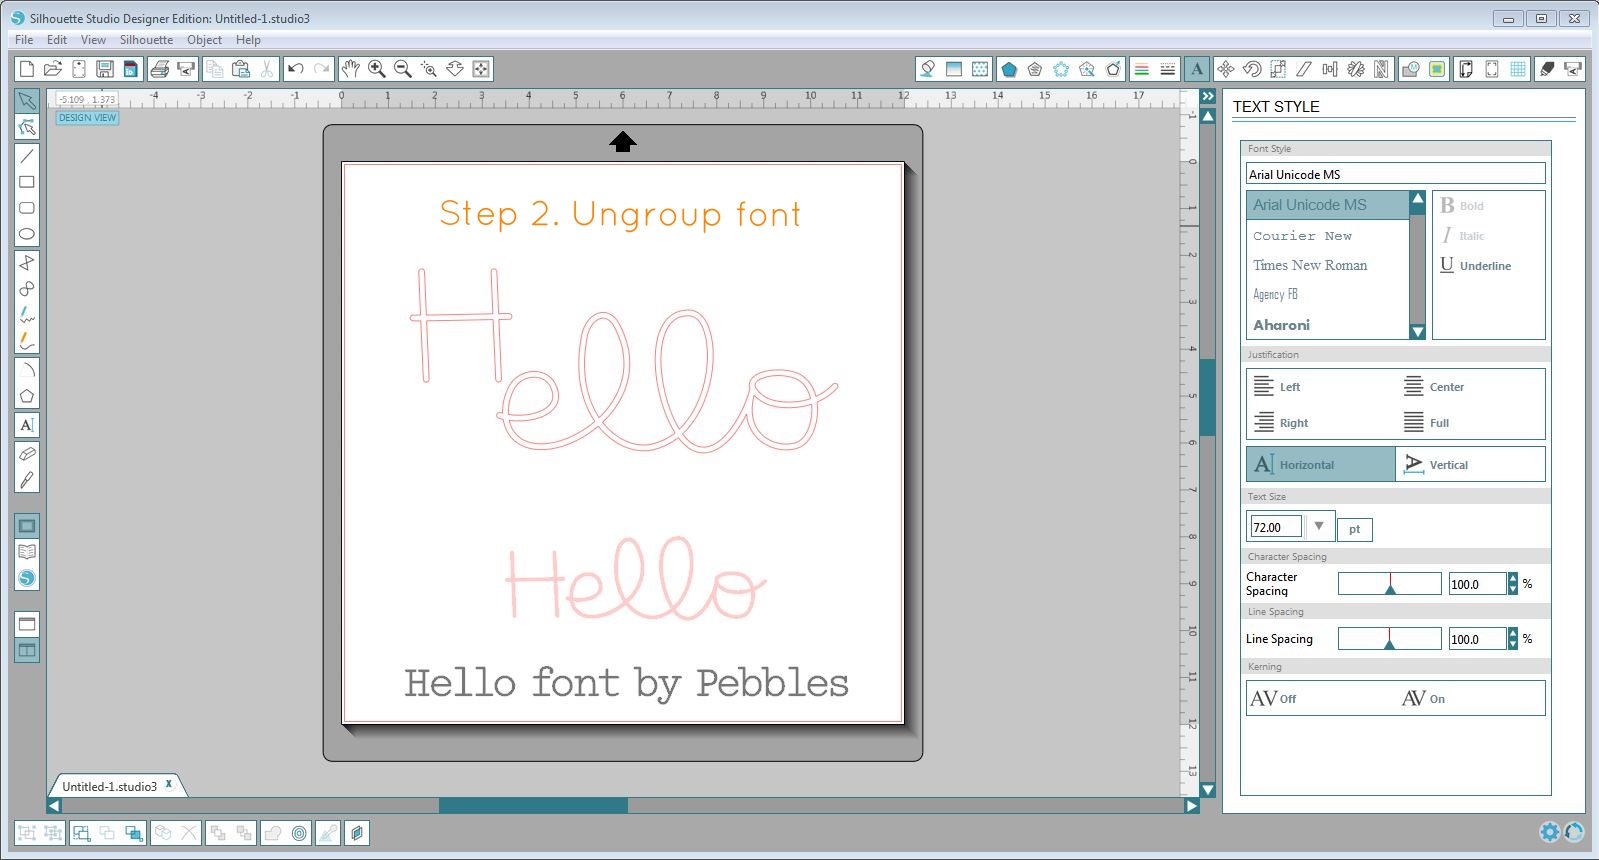
3. hello by Pebbles
4. hello by Jillibean Soup
Please note: The tutorial below is for font No. 3 Hello by Pebbles and on how I connected the letters by ungrouping, resizing, cutting and re-grouping again.


As always. I hope you give my simple DIY a try and don't forget to let me know how you plan to transform your own business cards. I look forward to hearing your feedback! Until next time. Happy crafting!
- Maritza